A food sample is the most persuasive thing you can hand a visitor — a tasted product beats any brochure or banner. But a sampling booth only works if it is set up to keep the queue moving and the tasting clean and safe. This guide is the field manual for running one, and it sits under our exhibition marketing guide.
Why sampling works
People trust their own senses more than your claims. A bite or a sip turns an abstract pitch into a direct experience, and an experience is what they remember and repeat. That is why a small, well-run sampling station often out-performs a far more expensive display: it converts curiosity into a memory of your product.
Portion for one bite
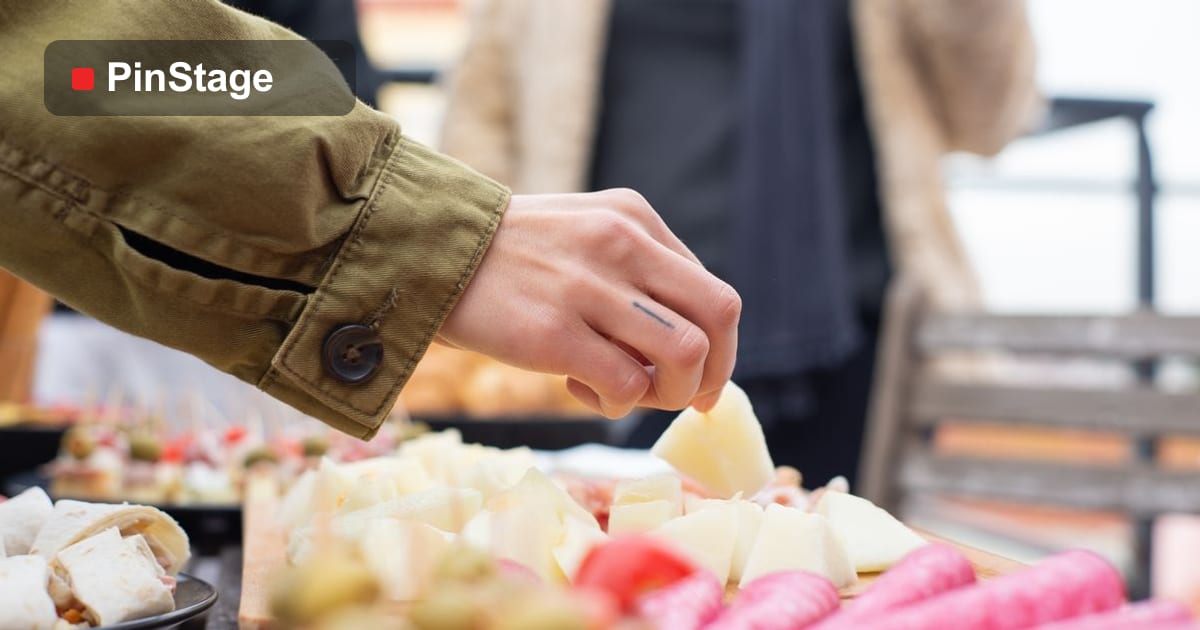
Samples should be one or two bites, served in a small tasting cup or on a single piece. Small portions mean more people get to try, less product is wasted, and the queue never stalls on someone eating a full serving. Pre-portion before the rush rather than during it — assembling samples while a queue builds is the fastest way to lose the crowd.
Design the flow
Set up a clear one-way path: approach, sample, talk, then take a card or scan a QR. Put the tasting cups and corn-starch spoons at the front edge so visitors grab and go, and keep your conversation space a step to the side so it does not block the next person. A station where serving and talking happen in the same spot jams within minutes.
Hygiene and food safety
Sampling carries a duty of care, and it is also a brand risk — nothing undoes goodwill like a hygiene scare. The basics:
- Use disposable bowls, cups and cutlery — never shared serveware.
- Keep napkins and a bin within arm's reach.
- Hot food hot, cold food cold; carry a thermometer if your samples are temperature-sensitive.
- Gloves and tongs for anyone handling food directly, and a way to wash or sanitise hands.
- Cover and date anything not served immediately.
The consumables you need
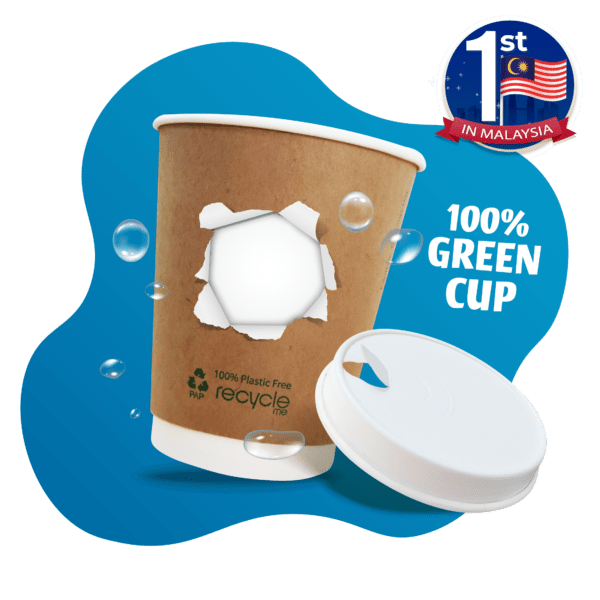
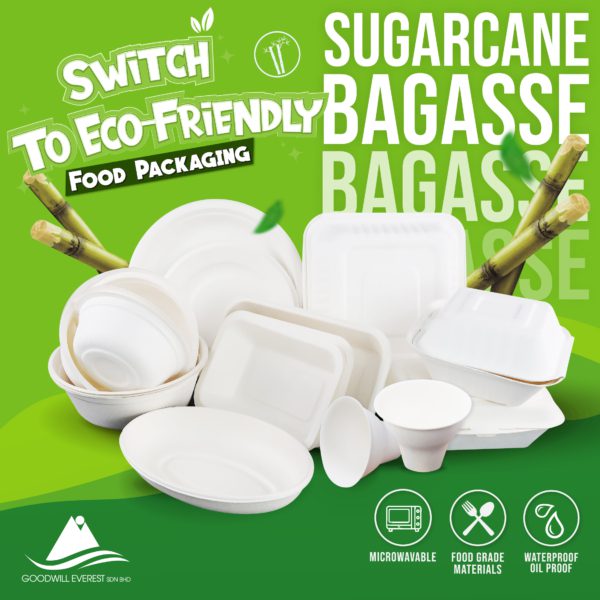
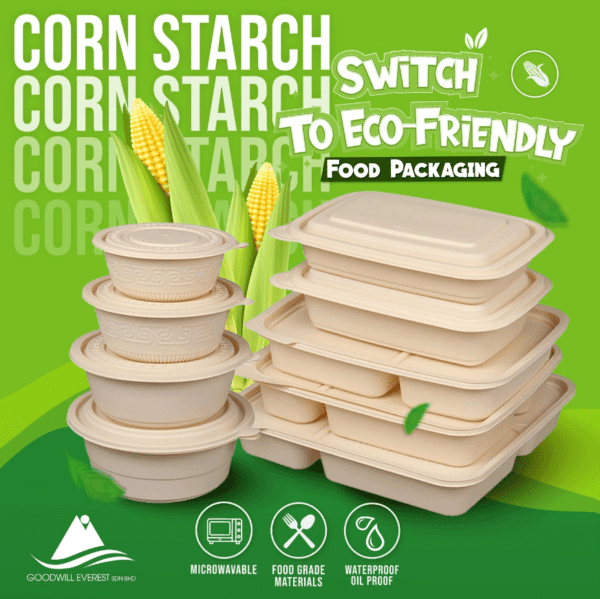
A sampling station runs on small disposables, and running out of any one of them stops the show. The core kit: tasting cups, spoons or forks, napkins, picks or skewers for finger food, a bin and liners, gloves, and sanitiser. Order eco consumables that match your brand — bagasse, PLA and corn-starch all sample well — and keep a sealed reserve behind the counter.
How much to bring
Quantities always run ahead of headcount because people take a fresh cup each time. As a rough guide per 100 visitors: 120–150 tasting cups, 120 spoons, 150+ napkins, and a couple of bin liners — then add a 15–20% buffer. The full per-100 breakdown is in the event catering supplies checklist.
Staffing the station
Two people beat one: one serves and keeps the station stocked and clean, the other talks and captures leads. Brief them on the one message and a short opening line, roster breaks so the station is never unmanned at peak, and make sure whoever serves is not also the one buried in a long conversation while the queue grows.
Make it on-brand
Sampling pulls people in; your backdrop and roll-ups tell them who you are while they taste, and a printed cup or napkin carries your brand out of the hall. Keep the consumables, signage and staff shirts in the same colours so the station reads as one brand rather than a folding table with food on it.
Choosing eco consumables
Single-use plastic looks careless at a food booth. Bagasse handles hot and saucy samples, PLA suits cold drinks, and corn-starch cutlery is rigid enough for tasting. Which material to use for each item is in bagasse, PLA & corn-starch explained, and the wider plan is in the eco food packaging guide.
Reduce waste
Right-sizing portions is good for the planet and your budget at once: smaller samples mean more tastings from the same stock and less in the bin. Offer a single napkin rather than a handful, skip lids on cups consumed on the spot, and only pre-portion what you expect to serve in the next hour so nothing is wasted if footfall is slow.
Measuring sampling success
Decide before the show how you will judge the station: samples served, leads captured per hundred tastings, and how many of those leads convert afterwards. Note what drew people in and what fell flat, and you will run a better station next time — and know whether sampling earned its place in the budget.
Common sampling mistakes
- Portions too big. They slow the queue and waste product.
- Assembling during the rush. Pre-portion, or the crowd moves on.
- No clear flow. Serving and talking in one spot jams the station.
- Running out of cups or napkins. Keep a reserve; these go first.
- Forgetting the brand. An unbranded table samples your product but not your name.
Cold chain and equipment
If your samples need to stay cold or hot, the equipment is as important as the food. Bring a cooler or chiller for cold items, a warmer or chafing setup for hot ones, and a thermometer to prove the temperature if anyone asks. Plan how you will keep stock at temperature for the whole day, not just the first hour, and how you will top up without leaving the station unmanned. Food left in the danger zone is both a safety risk and a brand risk.
Allergens and labelling
A sample is food you are giving to strangers, so tell them what is in it. Display the common allergens clearly, keep ingredient information to hand, and if anyone asks, answer honestly rather than guessing. Use separate utensils for different samples to avoid cross-contact, and if you offer a "free from" option, keep it genuinely separate. Clear labelling protects your visitors and your brand, and it builds the trust that turns a taste into a sale.
Drawing a crowd to the station
A sampling station works best when it is busy — a small crowd attracts a bigger one. Position the station at the front of your booth where it is visible from the aisle, use a roll-up banner or flag to announce what you are sampling, and have a staff member actively offer rather than wait. The smell of fresh coffee or warm food does half the work; clear signage and an open, welcoming setup do the rest.
A quick pre-show sampling checklist
- Cups, spoons, napkins, picks and bin liners — per-100 quantities plus a buffer.
- Gloves, sanitiser and a thermometer.
- Cooler or warmer for temperature-sensitive stock.
- Allergen and ingredient information displayed.
- A roll-up or sign announcing the sample.
- A lead-capture method at the talk step.
- A sealed reserve of the fastest-moving consumables.
Tick these and the station runs itself; miss one and you spend the show improvising.
What a great sampling station looks like
Picture the best version: a clean, branded counter at the front of the booth; pre-portioned samples ready in neat rows; one person offering with a smile and a one-line hook, another talking and scanning; napkins and a bin within reach; a clear sign saying what it is and why it is good; and a steady, moving queue that never quite stops. None of it is expensive — it is portions, flow, hygiene and brand, planned in advance. Do those four things and a folding table becomes the most persuasive square metre of your stand.
After the show: follow up on tastings
A taste creates a window of interest that closes fast. Follow up the leads you captured at the station within the same week, referencing the product they tried — "thanks for sampling our cold brew" lands far better than a generic email. The sample did the persuading on the day; the follow-up turns that fresh memory into an order before it fades. Note which samples drew the longest queues, too — that is real, unfiltered feedback on what your market actually wants.
Frequently asked questions
How many samples should I prepare? Plan per visitor, not per headcount — 120–150 cups per 100 visitors, plus a buffer, since people take more than one.
Do I need disposable everything? Yes — shared serveware is a hygiene risk; use disposable cups, cutlery and bowls.
What is the most common mistake? Portions that are too large; they slow the queue and waste stock.
Do I need a permit to sample? Rules vary by venue and region — check the organiser's and local food-safety requirements before the show, as many events require a food-handling certificate or notice.
Hot or cold samples — which is easier? Cold and ambient samples are simpler to keep safe; hot ones need equipment to hold temperature all day. Choose what you can run reliably for the full event.
Plan the whole booth with the exhibition booth checklist, and stock the station from the packaging range.