A blank wall is wasted brand space. Wall stickers and murals turn it into a reception feature, a motivational quote, wayfinding, a product backdrop or a full photographic scene — and because they are vinyl, you can rebrand later without repainting. This guide explains the formats, which walls actually work, how to design for large prints, and how to apply them. It is part of our custom stickers & decals guide.
Where wall graphics earn their place
- Reception / feature walls — a logo or brand scene behind the front desk, the first thing visitors see.
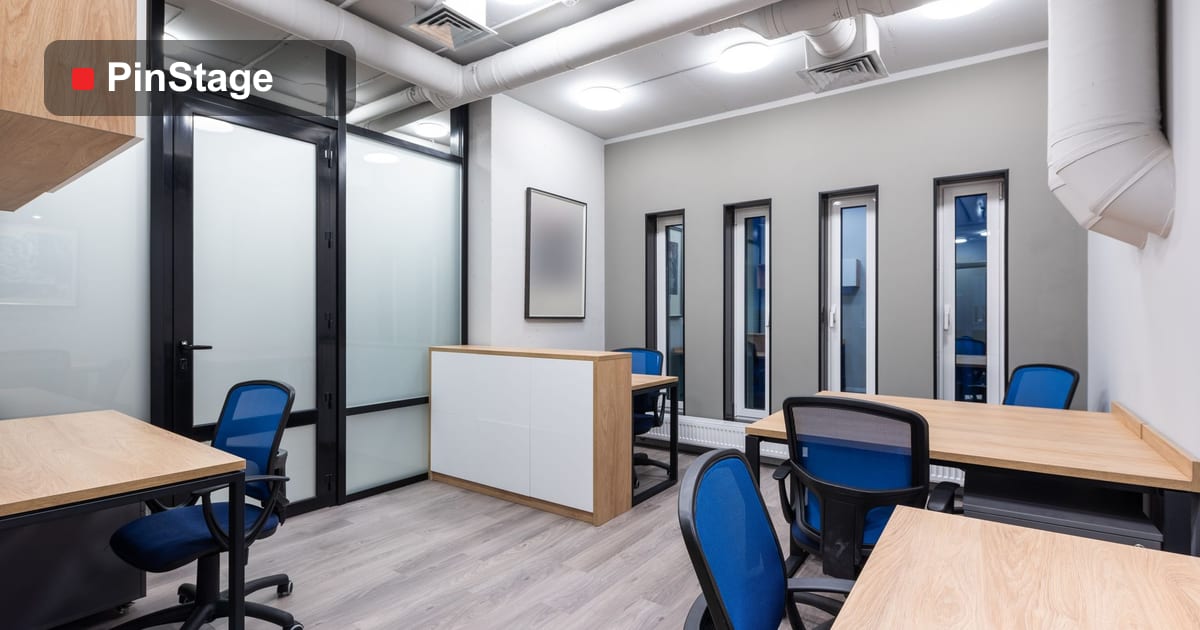
- Office culture — values, quotes and wayfinding that make a space feel intentional.
- Retail & cafés — a feature wall that customers photograph and share is free marketing.
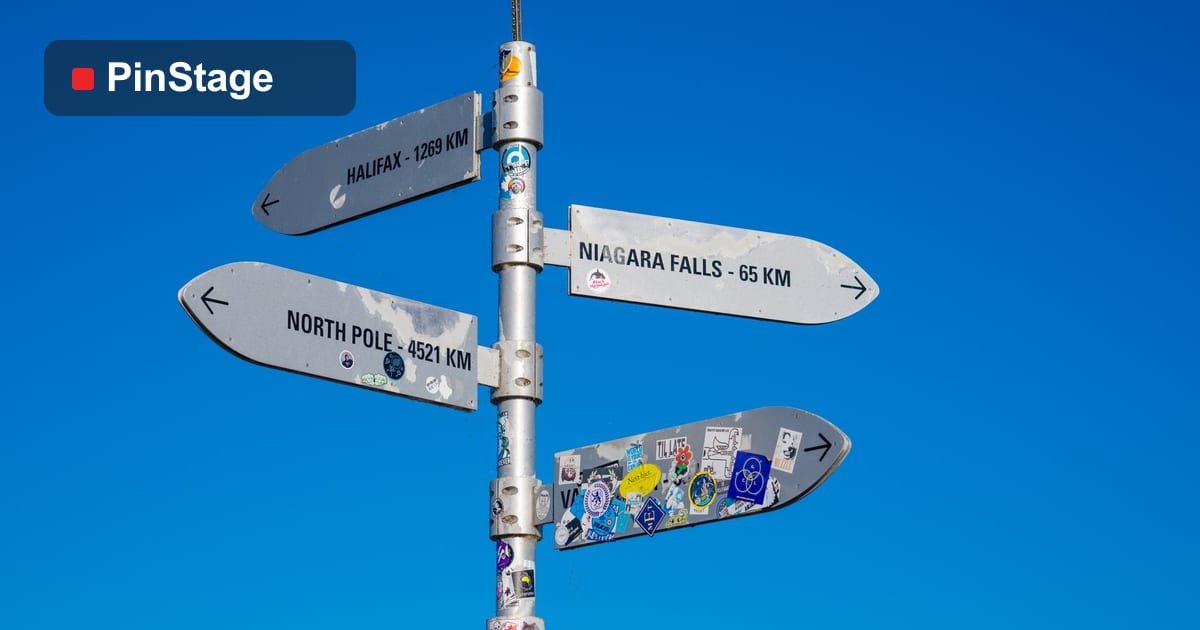
- Wayfinding — room names, directions and zone markers.
- Events — a temporary branded wall or photo backdrop that comes down cleanly after.
A wall sticker is the simplest way to make a room look designed without a renovation.
Three formats
- Full mural — a large printed graphic, often tiled across several panels, that covers a wall edge to edge. Best for photographic scenes and big brand statements.
- Cut vinyl lettering & shapes — your logo, a quote or a pattern cut from solid vinyl and applied directly to the paint, so the wall colour shows between the letters. Crisp, premium, and cheaper than a full mural. A die-cut finish is ideal here.
- Decals — individual graphics (icons, characters, spots) placed around a space.
Many fit-outs combine a printed feature wall with cut lettering elsewhere.
Which walls work
Surface is everything for wall vinyl:
- Best: smooth, matte or satin painted walls, primed plaster, smooth panels and glass.
- Tricky: heavily textured paint, brick, and rough render — vinyl bridges the texture and lifts at the high points; choose a conformable film and press firmly, and expect a shorter life.
- Avoid: freshly painted walls (let paint cure 2–4 weeks first), dusty or flaking surfaces, and very low-VOC matte paints that release vinyl over time.
Always test a small piece on the actual wall first, especially on newer or unusual paint.
Removable vs permanent
For interiors, removable wall vinyl is usually the right call: it holds firmly for years yet peels off cleanly so you can rebrand or hand back a rented unit without repainting. Permanent adhesive is for surfaces that will never change. The small premium for removable is cheap insurance against a repaint bill.
Designing for big prints
Large murals are viewed from across a room, so the resolution rules differ from a small sticker:
- 100 DPI at full size is enough for a wall viewed from a metre or more away — full-resolution photos at mural scale are huge files for little visible gain.
- Mind the tiling seams on multi-panel murals; design so a seam does not cut through a face or critical detail.
- Keep key content off corners and switches — map out sockets, switches and skirting before finalising artwork.
- Supply layered vector/hi-res files; see print-ready file setup.
Applying wall graphics
Clean the wall and let it dry. For lettering, use application tape so the whole layout transfers in one go and stays aligned. For murals, hang panels with a small overlap and squeegee from the centre out, working panel by panel. Two people make large walls far easier and straighter. Take your time aligning the first panel — everything references off it.
Feature walls that customers photograph
For retail, cafés and venues, a wall graphic is not just decoration — a striking feature wall becomes a backdrop people photograph and post, turning your space into free social-media reach. To design one that earns shares:
- Make it portrait-friendly. Most phone photos are vertical; design a tall focal area people can stand in front of.
- Work your handle in subtly. A tasteful logo or @handle in the design means every shared photo credits you.
- Mind the lighting. Place the wall where it is well lit; a great mural in a dark corner never gets photographed.
- Leave standing room. Keep the lower third simple so a person standing in front does not cover the key art.
A removable mural also lets a café refresh its look each season or for a campaign without redecorating — a big advantage over paint.
Common wall-graphic mistakes
Most disappointing wall jobs come down to a handful of avoidable errors:
- Applying to fresh paint. New paint keeps off-gassing for weeks and releases vinyl; cure it 2–4 weeks and test first.
- Textured walls without a conformable film. Standard vinyl bridges the texture and lifts; choose the right film or a smooth wall.
- Permanent adhesive in a rented space. Use removable vinyl so you can hand the unit back without repainting.
- Over-resolution. Supplying full-resolution photos at mural scale creates huge files for no visible gain; 100 DPI at size is plenty.
- Ignoring sockets and switches. Map them before finalising so the design works around them instead of through a face or logo.
Plan around those and a wall graphic looks designed, not stuck-on.
What wall graphics cost
Cut lettering is inexpensive (priced by the vinyl used); printed murals are priced by area, so a full wall is a larger job than a logo. Removable film and conformable vinyl for textured walls add a little. Send your wall dimensions and a rough design to request a quote, or start from the wall sticker option.
Frequently asked questions
Will a wall sticker damage my paint? Removable vinyl on properly cured, smooth paint lifts cleanly. On fresh or flaky paint it can pull — cure new paint for a few weeks and test first.
Can I put a mural on a textured wall? Yes, with a conformable film pressed firmly, but expect a shorter life and some texture showing through. Smooth walls give the best result.
Full mural or cut lettering? Lettering is crisp and cheaper and lets the wall colour show; murals cover the wall with a printed scene. Many spaces use both.
How long do they last? Indoors on a good surface, several years — and removable vinyl comes off cleanly when you are ready to change.
Ready to use your walls? Compare the sticker range or read sticker types: window, floor & wall.