The floor is the most-overlooked advertising space in any shop, event or office — and it is staring up at customers the whole time they are deciding. Floor stickers turn that blank space into directions, distance markers, promotions and branding, placed exactly where feet already point. This guide covers the material that matters (anti-slip), which floors work, how long graphics last, and how to apply them cleanly. It is part of our custom stickers & decals guide.
What floor stickers are for
A floor graphic earns its place because people look down as they walk. The common jobs:
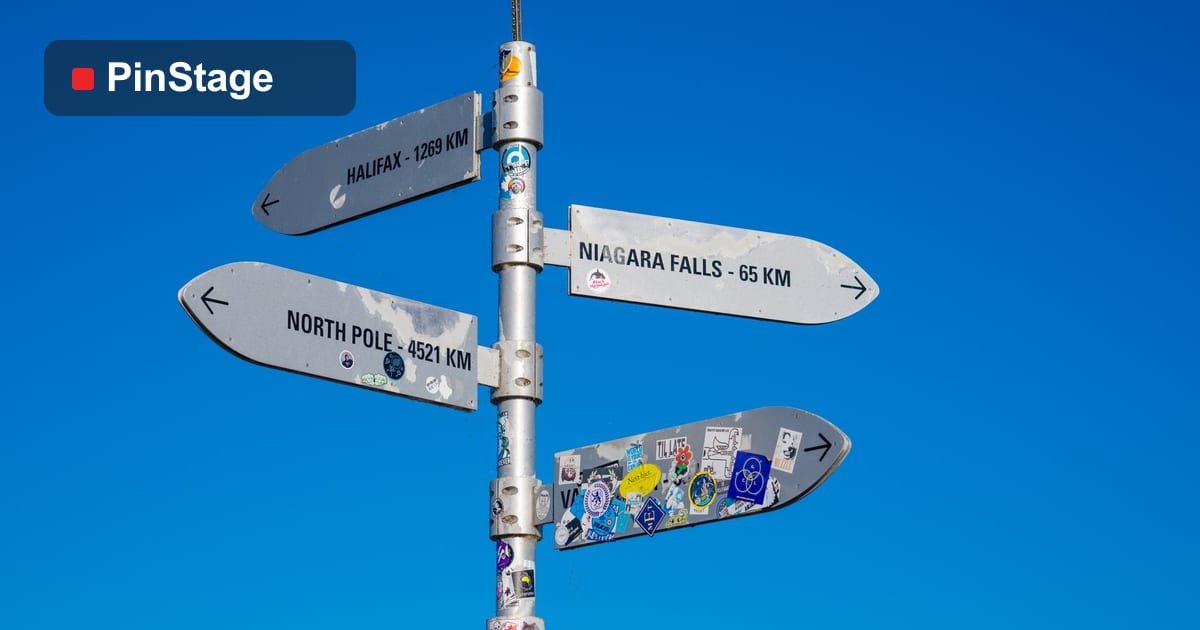
- Directional / wayfinding — arrows and "this way" markers that guide queues and route foot traffic through a space.
- Distance and spacing markers — spots and lines that organise a queue.
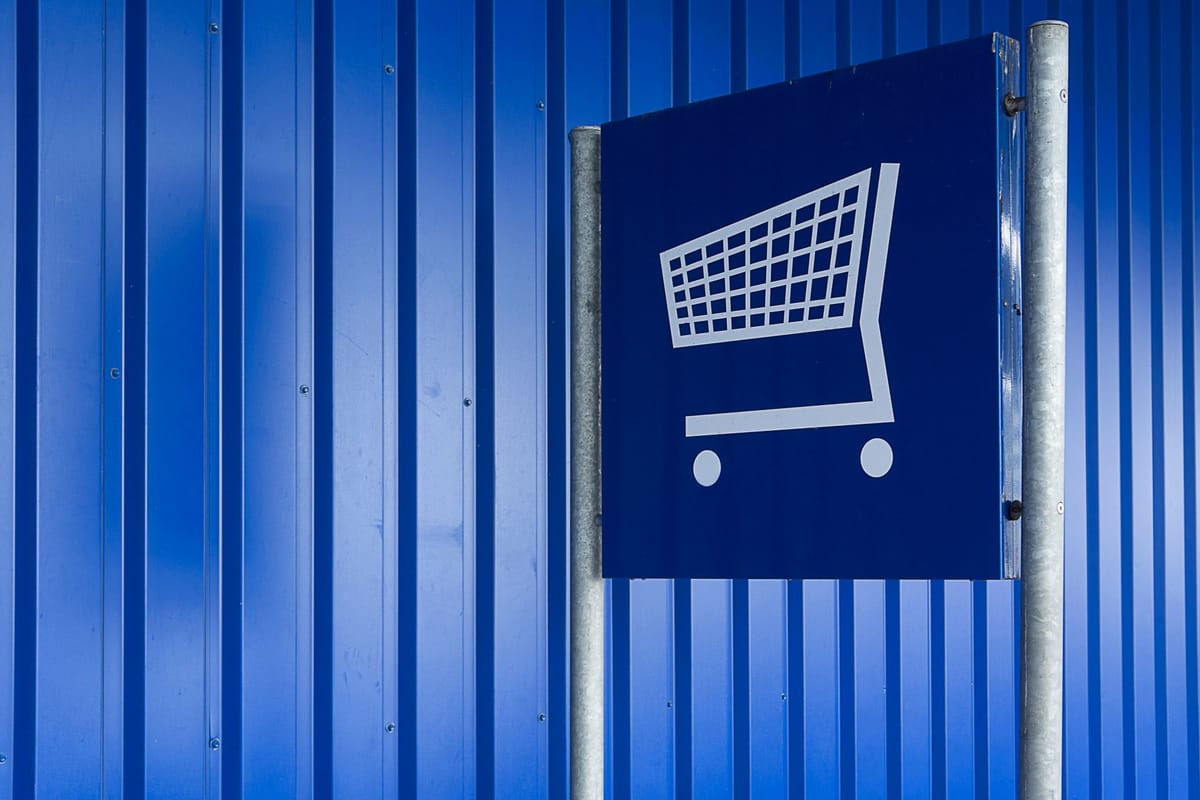
- Promotions — a discount or product call-out dropped right in the aisle where the decision happens.
- Branding and welcome — a logo at the entrance, a feature graphic in a showroom.
- Safety and zoning — "mind the step", staff-only zones, hazard areas.
Because the floor is unused space, it adds messaging without crowding shelves, windows or walls.
Anti-slip is non-negotiable
A floor sticker is walked on, so it must use an anti-slip laminate — a textured clear layer that gives grip and protects the print from shoes and cleaning. This is a safety requirement, not a style choice. Never put a plain gloss or matte sticker on a floor; it is slippery and wears through in days. The base is a durable vinyl sticker with the anti-slip laminate added; for shaped markers like arrows and footprints, a die-cut finish looks cleanest. Read more on finishes in lamination & durability.
Which floors work — and which don't
Adhesion is everything on a floor. As a rule:
- Works well: smooth, sealed surfaces — polished concrete, vinyl/lino, sealed tile, smooth laminate, marble.
- Works with care: textured tile and rougher finishes need a more aggressive adhesive and firm rolling-down; expect shorter life.
- Avoid: loose carpet, very rough or porous unsealed concrete, and freshly cleaned wet floors. Dust and polish are the main causes of early lifting.
Always apply to a clean, dry, fully-cured floor. New screed or recently waxed floors need time before a sticker will hold.
How long do floor stickers last?
Floor graphics are a consumable — they take the most wear of any sticker. Realistic life:
| Location | Typical life |
|---|---|
| Low-traffic office / showroom | 6–12 months |
| Retail aisle | 3–6 months |
| Entrance / checkout (very high traffic) | 1–3 months |
Plan to refresh high-traffic spots, and order spares with the first run so a worn graphic gets replaced the same day. Quantity lowers the per-piece cost, so reorders are cheaper in bulk.
Sizes and shapes
- Circles (30–60 cm) are the workhorse for spot promos and distance markers — no sharp corners to catch and lift.
- Arrows and footprints as die-cut shapes guide direction intuitively.
- Rectangles and runners suit longer messages and lane markers. Round corners on any rectangular floor sticker — square corners are the first thing to peel underfoot.
Applying floor stickers
- Clean the floor with a degreasing cleaner; let it dry completely.
- Position with the backing on, then hinge from one edge.
- Squeegee from the centre out, then roll the whole graphic down firmly — floor adhesive needs pressure to key in.
- Avoid traffic for a few hours while the adhesive builds its bond.
Work when the area is quiet (before opening) so nobody walks over a half-applied graphic.
Floor graphics for events and exhibitions
Floors are prime real estate at exhibitions and events, where every surface competes for attention. Used well, floor stickers:
- Pull traffic to your booth — a trail of branded footprints or arrows from the main aisle is a surprisingly effective lure.
- Mark your zone — a logo "carpet" at the booth entrance defines your space without a physical barrier.
- Organise queues — distance spots and "line starts here" markers keep a busy stand orderly.
- Brand sampling areas — at a food-sampling booth, a floor graphic frames the tasting zone.
Because events are temporary, order removable floor vinyl with anti-slip laminate so it lifts cleanly at teardown and does not damage the venue floor (many halls require this). Pair them with your other booth pieces — see the exhibition booth checklist for the full kit.
Common floor-sticker mistakes to avoid
A few errors account for most failed floor graphics:
- No anti-slip laminate. The single biggest mistake — unsafe and wears through in days. Always specify anti-slip.
- Square corners. They catch on shoes and peel first; round every corner.
- Applying to a dirty or freshly cleaned floor. Dust and wet wax both stop adhesion. Clean, degrease, and let it dry fully.
- Wrong surface. Carpet and rough unsealed concrete will not hold; test first or choose another spot.
- No spares. High-traffic graphics wear out — ordering extras with the first run means same-day replacement instead of a gap.
Avoid those five and a floor graphic does its job cleanly for its whole life.
What floor graphics cost
Floor stickers are priced by area and quantity, like other vinyl, plus the anti-slip laminate. The big cost driver is how many and how often — high-traffic spots are a recurring cost, so order in sensible runs and keep spares. Send your sizes and quantities to request a quote, or configure a vinyl sticker to see live pricing.
Frequently asked questions
Are floor stickers slippery? Not with an anti-slip laminate — that textured layer is exactly what gives grip. Never use a plain gloss sticker on a floor.
Will they damage my floor? On sealed, smooth floors a removable adhesive lifts cleanly. On unsealed or freshly painted floors, test a small piece first.
How long do they last in a busy shop? A few months in aisles, less at entrances. Treat them as a consumable and keep spares.
Can I get custom shapes like arrows? Yes — die-cut floor stickers in arrows, footprints or your logo are standard.
Ready to use the floor? Compare the sticker range, or read sticker types: window, floor & wall for the full map.